
DIY Installation & Care: How to Install and Maintain Your Stainless Steel Faucet
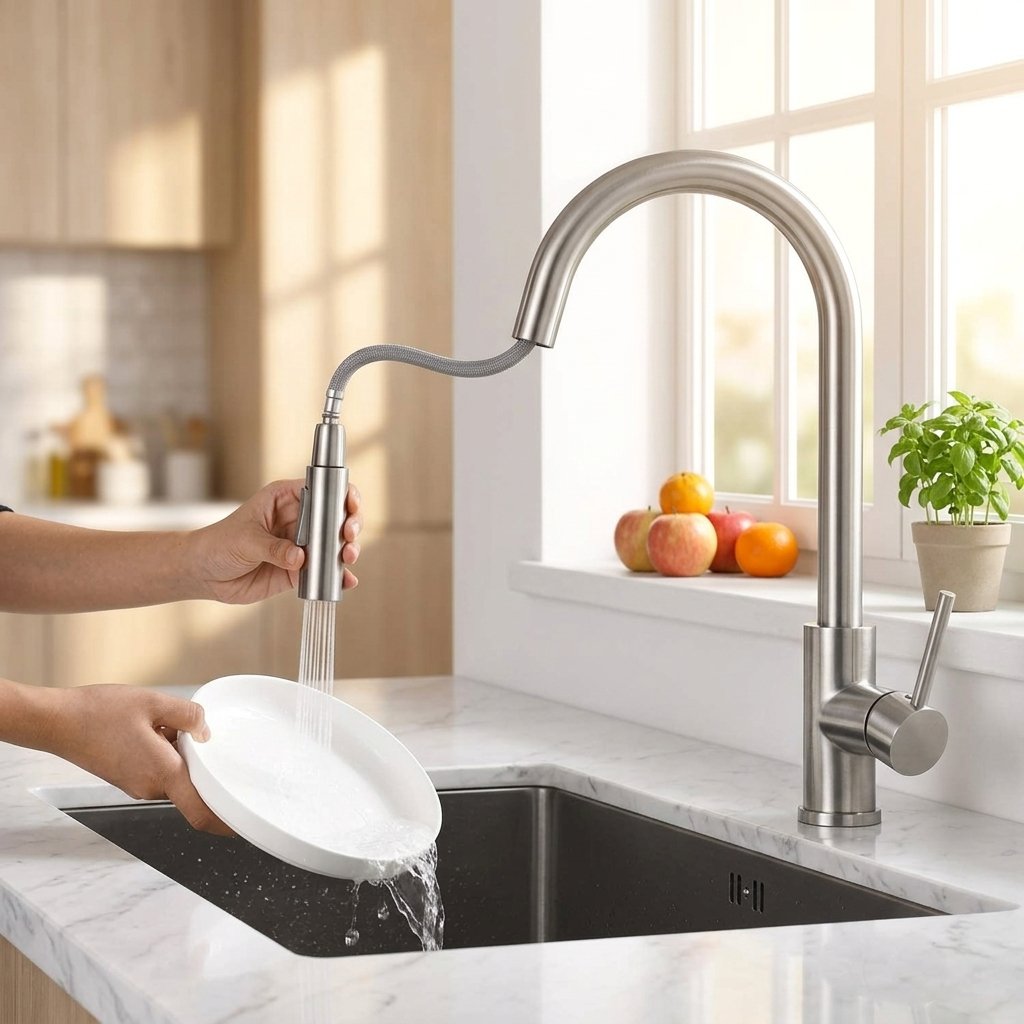
In many markets, the high cost of professional labor has fueled a powerful DIY trend. Homeowners are increasingly willing to take on projects themselves, but only if they feel confident they can achieve a professional result without frustration. A product that is easy to install and simple to maintain isn't just a convenience—it's a significant purchasing driver.
This is especially true for fixtures like kitchen and bathroom faucets. A high-quality 304 stainless steel faucet is an investment in health and style, and its value is magnified when it can be installed and cared for without needing to call a plumber.
> Direct Answer: Installing a modern single-hole stainless steel faucet is a straightforward DIY project that requires basic tools and about an hour of time. Long-term maintenance is equally simple, involving regular wiping with a soft cloth to prevent water spots and relying on the durability of the internal ceramic disc cartridge, which is designed for years of leak-free performance.
Step-by-Step DIY Installation Guide (Single-Hole Faucet)
Most modern stainless steel faucets are designed for simple, top-mount installation. This guide covers the common single-hole configuration.
Tools and Preparation:
- Adjustable wrench
- Bucket and towels (to catch residual water)
- Flashlight
- Microfiber cloth
CRITICAL FIRST STEP: Before you begin, locate the shut-off valves under the sink (one for hot, one for cold) and turn them clockwise until they are fully closed. Turn the old faucet on to release any remaining pressure and water.
Step 1: Mount the Faucet Place the new faucet's base and any included gasket through the hole in the countertop or sink. From underneath the sink, slide on the mounting hardware (typically a rubber washer, metal washer, and mounting nut) and hand-tighten it to secure the faucet. Use your wrench to give it a final quarter-turn to snug it up, ensuring the faucet is straight.
Step 2: Connect Water Supply Lines Your faucet will have integrated hot and cold water lines. Connect the hot line to the hot shut-off valve and the cold line to the cold valve. Hand-tighten the nuts first, then use a wrench for a final quarter-turn. Do not over-tighten, as this can damage the connectors.
Step 3: Attach Sprayer Hose & Weight (for Pull-Down Models) If your faucet has a pull-down sprayer, connect the sprayer hose to its outlet pipe under the sink (it will often have a quick-connect fitting). Attach the included weight to the lowest point of the hanging sprayer hose loop. This weight is what allows the sprayer head to retract smoothly.
Step 4: Turn On Water and Check for Leaks Slowly turn the water shut-off valves back on (counter-clockwise). Check all connection points—at the valves and at the faucet base—for any drips. Turn the faucet handle on and test both hot and cold water. Let it run for a minute while you inspect everything one last time.
Easy Maintenance for a Lifetime of Performance
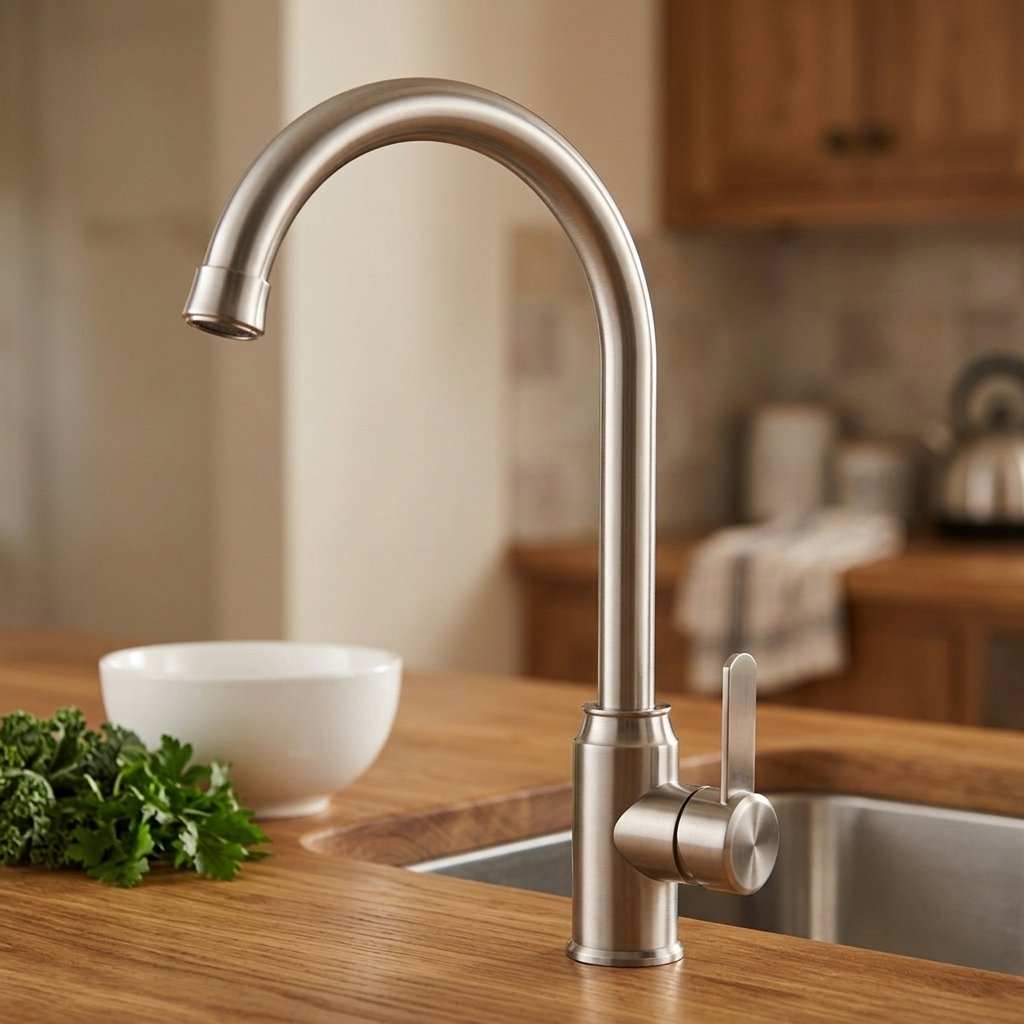
The appeal of 304 stainless steel is not just its modern look, but also its low-maintenance durability.
Preventing Water Spots and Fingerprints
Stainless steel has a non-porous surface, but hard water can leave mineral deposits (water spots). The solution is simple:
- Daily Care: After use, wipe the faucet and its base dry with a soft microfiber cloth. This takes only a few seconds and is the most effective way to keep it looking pristine.
- Cleaning: For tougher grime, use mild soap and warm water. Rinse thoroughly and wipe dry.
- What to Avoid: Never use abrasive cleaners, scouring pads (like steel wool), or harsh chemicals (like bleach or ammonia). These can permanently scratch the surface and damage its protective passive layer.
The Durability of the Ceramic Disc Cartridge
The most important part of your faucet is the one you can't see: the valve cartridge. Modern, high-quality faucets use a ceramic disc cartridge instead of old-fashioned rubber washers. It consists of two ultra-hard, perfectly flat ceramic discs that slide over each other to control water flow.
Because the discs are incredibly durable and create a perfect seal, they are not prone to the wear and tear that causes traditional faucets to drip. This technology is the key to years of reliable, leak-free operation, ensuring that your faucet's performance matches its timeless appearance.
A Product That Cares for the Customer
For importers, distributors, and retailers, providing products that empower end-users is a significant competitive advantage. A faucet that is easy to install reduces the barrier to purchase for DIY-focused customers. Clear maintenance instructions minimize customer service complaints and build long-term satisfaction.
At MKH, we design our stainless steel faucets with the entire user journey in mind. We believe in providing a product that customers can buy with confidence, install with ease, and maintain with minimal effort. Our faucets are engineered not just for aesthetic appeal and water safety, but for a positive ownership experience that reflects well on your brand.
Contact us to learn more about our range of DIY-friendly faucet solutions and how they can add value to your product offerings.
<!--[googlesitekit-end-of-content]-->